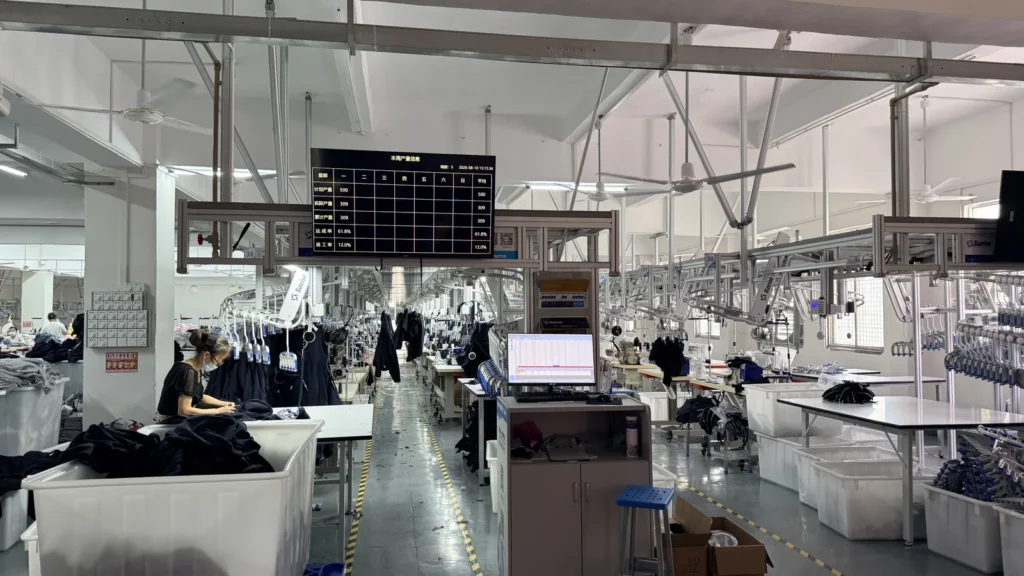
A custom clothing sample is not simply a smaller version of a bulk order. It is the point where a reference, a tech pack and a production plan become a garment you can review. For a streetwear brand, the sample stage is where fit, material direction, artwork, trims and finishing should be resolved before bulk production begins.
This guide explains how a custom clothing sampling process works for hoodies, T-shirts, pants, jackets and matching sets. It helps buyers prepare a clearer brief, review a sample with confidence and move into bulk production with fewer surprises.
Why the sample stage matters
A digital mockup can show a concept, but it cannot prove the finished fit, fabric hand feel, print placement or construction quality. A physical sample gives you something to measure, wear, photograph and compare against the approved design direction.
Approving a sample does not mean that every decision is permanent forever. It means the confirmed sample becomes the reference for the next stage. If you change fabric, wash, artwork size, trim or measurement after approval, discuss whether another sample is needed before starting bulk production.
Step 1: Send a usable project brief
You do not need a perfect document to begin. A strong starting brief includes a reference image or tech pack, the product type, quantities per color, artwork, destination and the timing you have in mind. If the fit matters, include a size chart or a reference garment with the specific changes you want.
- Style type: hoodie, T-shirt, pants, jacket, varsity jacket or matching set.
- Reference: front and back images, flat sketches or a complete tech pack.
- Fit direction: regular, boxy, oversized, cropped, straight leg or another measurable goal.
- Fabric direction: composition, inside finish, hand feel, color and target weight if known.
- Decoration: artwork files, print or embroidery placement, dimensions and color references.
- Quantity: pieces per style, per color, plus an estimated size breakdown.
A pack that clearly marks unknowns is still useful. Write “factory to propose” for the items you have not decided, such as a zipper, label material or exact fabric option. That makes the open decisions visible instead of leaving them to assumption. Read our tech pack guide for a practical structure.
Step 2: Confirm what will be sampled
Before a sample begins, the manufacturer should review the brief and identify the working assumptions. This is the right time to clarify which body fabric, rib, lining, hardware, decoration process and labels are proposed for the sample. It is also the time to ask whether a custom material or special trim has different availability requirements.
Keep the confirmation in one written record. It can be a marked-up tech pack, a sample order sheet or a clear email summary. The objective is simple: both sides should understand what the sample is intended to demonstrate.
Step 3: Review fabric and color options early
Material choices affect the silhouette, decoration and care of the garment. When the exact material is not supplied by the buyer, request options with the stated composition, construction and weight. Compare swatches in person where possible, or ask for clear close-up photos and details before you approve the sample direction.
For a hoodie project, for example, you may compare an unbrushed loopback option and a brushed interior option before choosing the one that fits the intended use. The names alone do not define the composition or GSM, so select from the actual offered material rather than from a generic description. Our French terry vs fleece guide outlines the differences to discuss.
Step 4: Develop the garment and its construction details
During development, the sample team turns the specification into a pattern and construction plan. This is where details such as seam placement, pocket size, hood shape, panel proportions, sleeve volume, lining, rib and closures need a clear decision.
Construction photos are useful, but label the point you are referring to. “Use this pocket” can be interpreted in several ways; “use the pocket angle from the reference, make it 18 cm wide and keep the opening unzipped” provides a direction that can be checked. For a matching set, review the hoodie and pants together so that fabric, color and overall proportions work as one product.
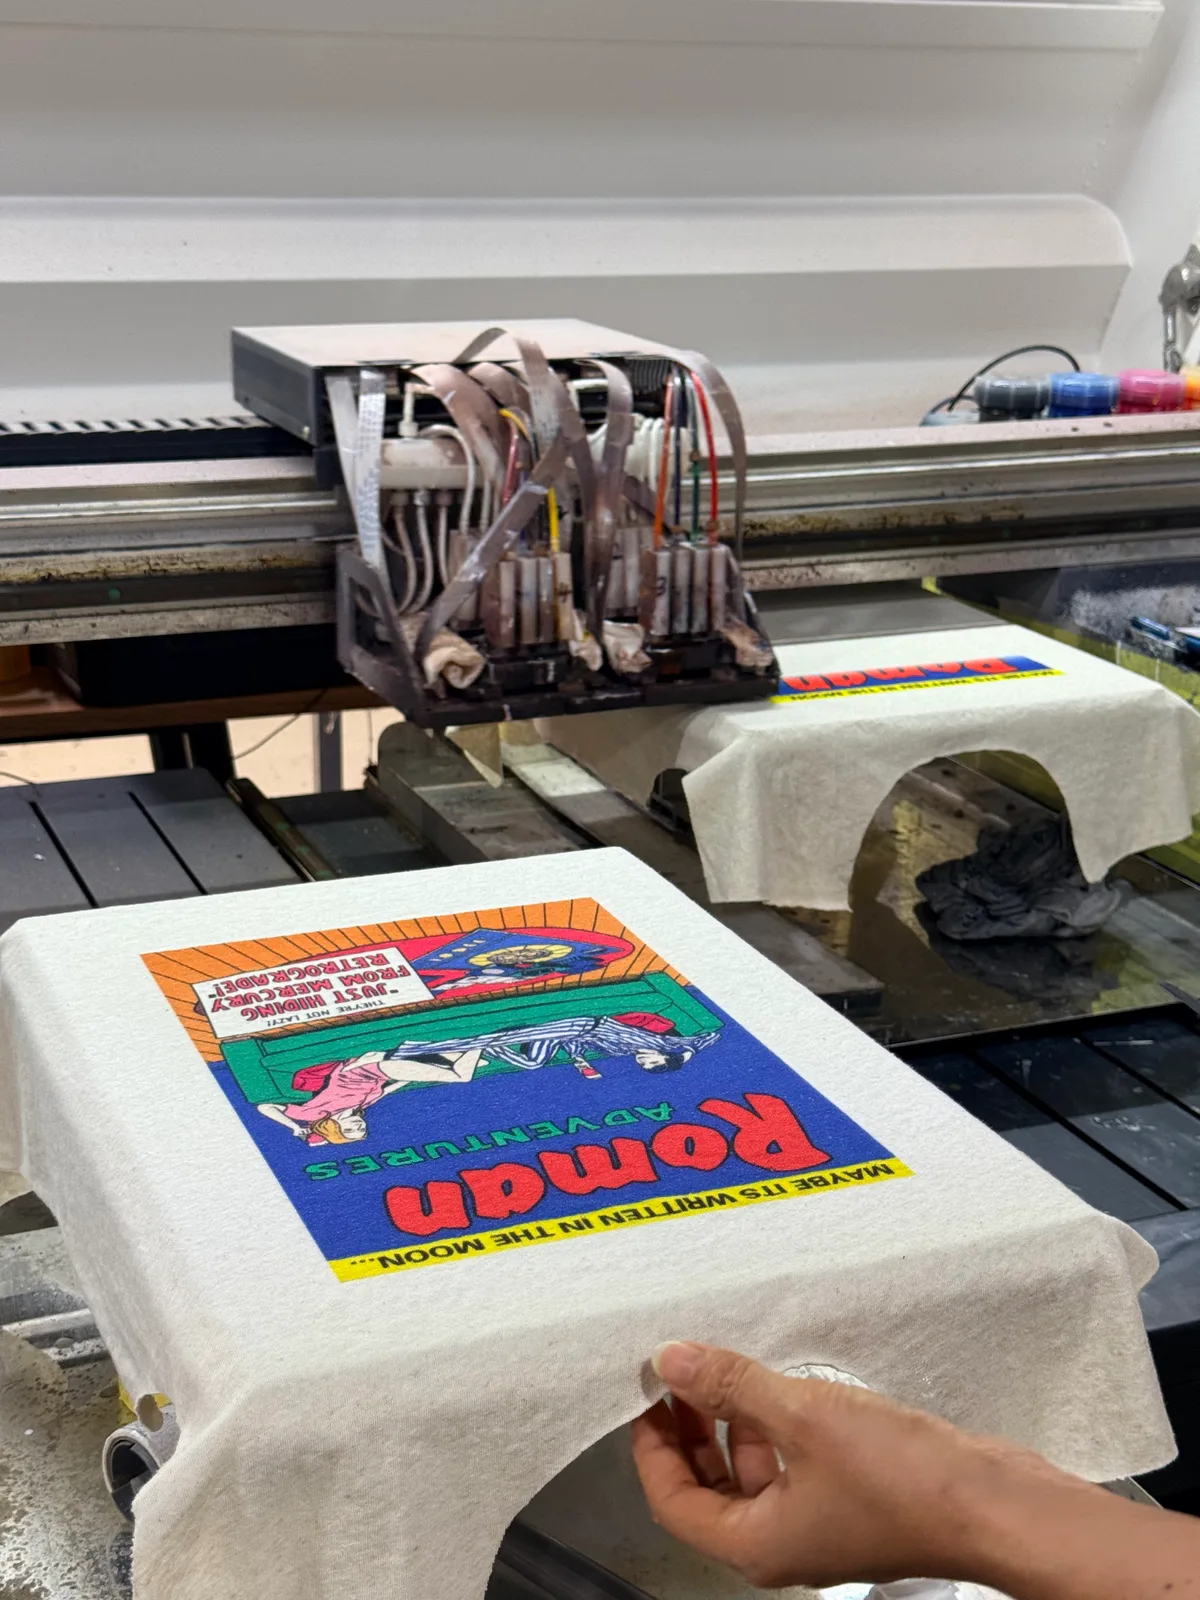
Step 5: Check artwork, embroidery and print placement on the sample
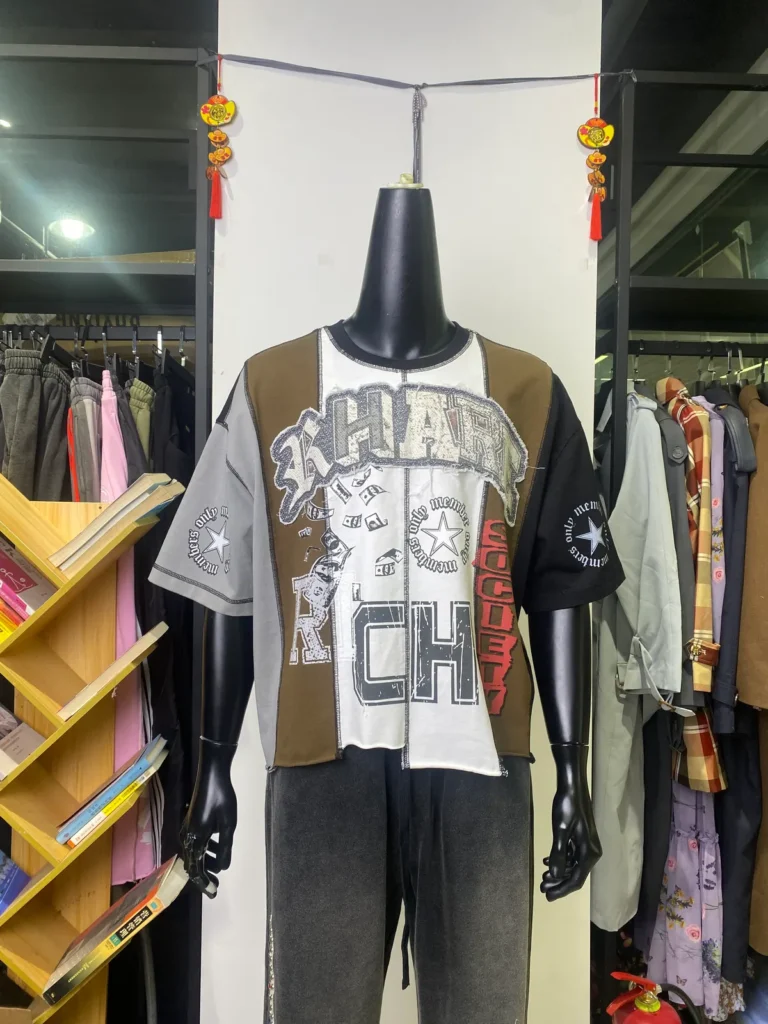
Artwork should be reviewed on the actual garment, not only on a screen. Inspect its width and height, its distance from stable garment points, color appearance and the way it sits on the selected fabric. A print or embroidery can look different after washing, on a textured surface or across a seam.
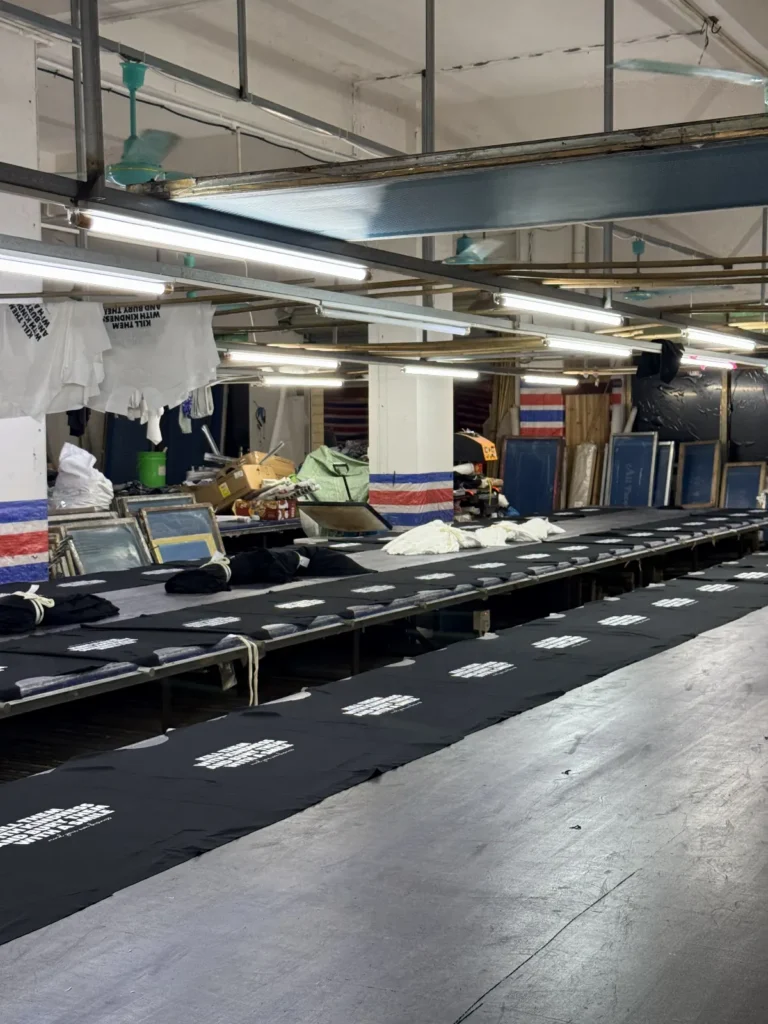
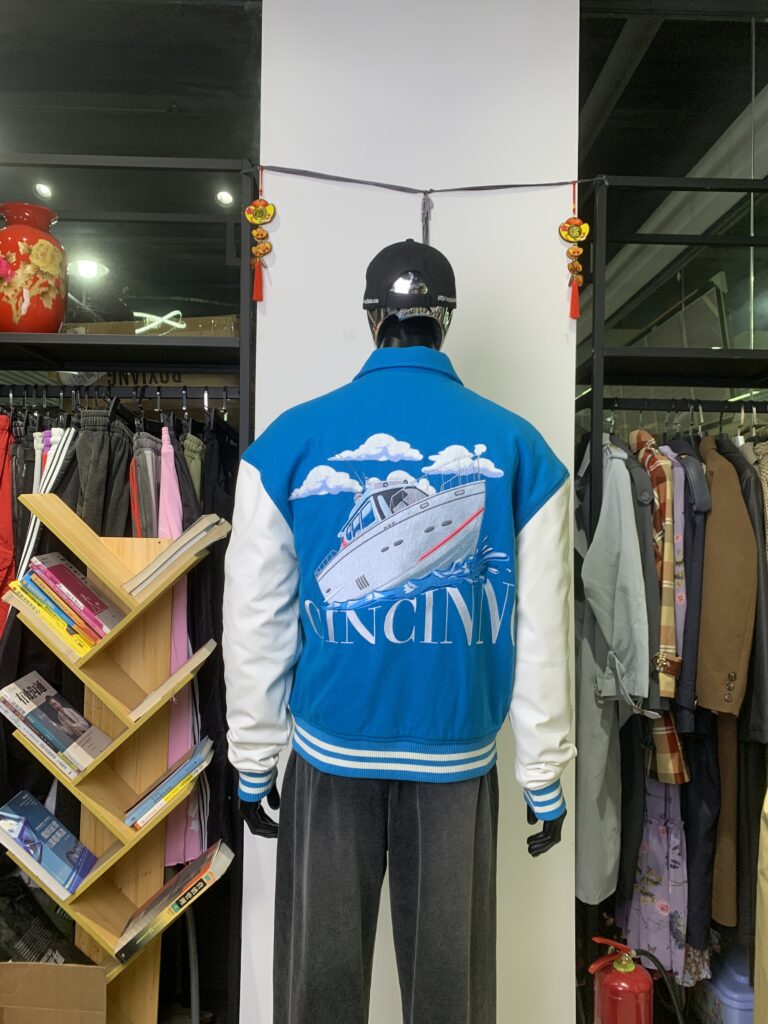
For embroidery, inspect stitch density, edge clarity and the feel of the backing against the garment. For printing, review fine detail, coverage and alignment. If a placement is critical, add a measurement from the center-front neck, side seam, shoulder seam or another unambiguous point. Avoid directions such as “slightly lower” without a measurement.
Step 6: Use a structured sample review checklist
Review the sample against the latest version of the brief. Do not rely on memory or a mood board alone. Photograph issues, write the requested correction next to each image and combine all feedback in one revision list. This avoids conflicting instructions sent through several channels.
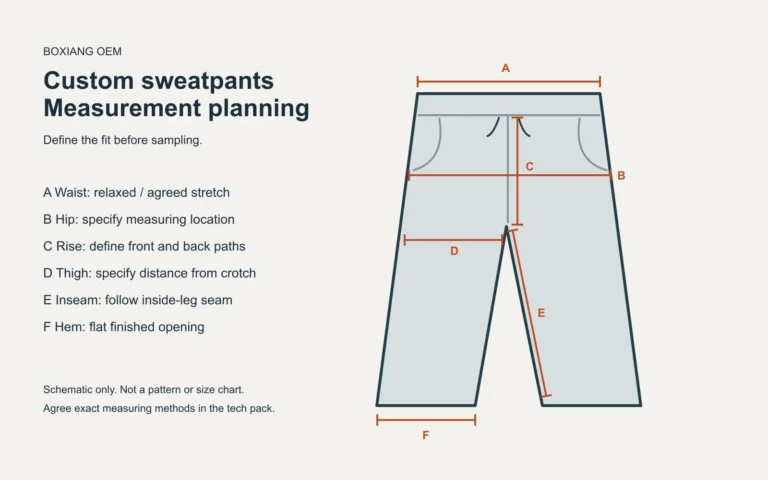
- Fit: body length, chest, shoulder, sleeve, rise, inseam and openings match the intended silhouette.
- Construction: seams, pockets, hood, rib, closure and panels reflect the approved sketches.
- Material: body fabric, contrast fabric, rib and lining match the selected direction.
- Decoration: artwork, placement, scale and colors are correct on the physical garment.
- Trims: labels, drawcords, zippers, buttons, patches and packaging are reviewed where applicable.
- Care and finish: review the agreed finish and any care checks relevant to your product.
Be specific about whether a note is a correction, a preference for a future colorway or an item accepted as shown. That distinction keeps the next step clear.
Step 7: Approve the production reference before bulk
When all key details are accepted, confirm the production reference in writing. This can be an approved sample, an approval sheet or a final version of the tech pack with accepted notes. Keep the approved information together: style, measurements, material, artwork, trims, labels, colors, quantity per color and packaging.
At Boxiang, the garment MOQ begins at 50 pieces per style per color; sizes can be distributed within that color quantity. Basic sampling is approximately seven days after the sample fee is paid and complete design information is confirmed. Bulk production is generally 15–30 days after sample approval and receipt of the deposit. Complex styles or processes may require longer, and the final plan is confirmed for the individual order.
For a clearer MOQ discussion, see what 50 pieces per color means for a streetwear order.
Common delays to avoid
- Submitting reference images without saying which parts should be copied or changed.
- Changing artwork, measurement or fabric after the sample is already in progress.
- Approving a photo when a physical detail still needs to be checked.
- Leaving labels, hardware or packaging until after the garment sample is approved.
- Combining feedback from multiple people without issuing one final instruction list.
- Planning a launch date without allowing time for shipping, review and corrections.
Frequently asked questions
Can I make a sample from just a reference photo?
Yes, a reference photo can start the discussion. Add the details that the photo cannot show: desired fit, measurements, artwork size, quantity per color and material direction. The factory can then identify what still needs confirmation before sampling.
How many sample rounds are needed?
It depends on how complete the starting brief is and how complex the product is. A simple approved design may need fewer revisions than a garment with custom pattern work, washing, special hardware or several decoration methods. Confirm corrections in writing after each review.
When should I pay the deposit for bulk production?
Bulk production begins after the sample is approved and the deposit is received. Confirm the final production schedule, product details and payment arrangement for your order before proceeding.
Ready to start sampling? Send your reference, quantity per color and destination through our custom quote form. If you are still building the brief, tell us what you want to make and which decisions you would like help clarifying.
Apply the brief to pants development
For a jogger or wide-leg sweatpant project, use the sweatpants measurement and sample checklist to prepare measuring locations and review the actual sample. It connects the general development steps above with the waist, rise, leg shape and hem decisions needed for pants.
Have a question about your own design?
Share your reference, quantity per color and destination. Our team can review the relevant options for your order.
Discuss your projectExplore manufacturing options